1. Preparation is key
Prepare. Prepare. Prepare. This is the key part of painting any staircase. If you do not prepare and map out your actions, you’ll possibly regret it.
If your current painted staircase is in poor or tired condition, you can use paint stripper to get rid of any old paint. If you are painting over varnish, lightly sand your staircase ready for your paint. And use wood filler to build up any major scuffs, cracks or holes.
Finally, because your staircase is among the busiest walkways in your house, they often become very dirty. Give it a good clean with a damp cloth and vacuum up any last bits of dust and dirt.
2. Apply some tape
You don’t want paint getting everywhere and your job becoming bigger than it already is. Make sure you cover any surfaces you do not want to paint - painter’s tape is good for covering even the tricky place. When you are finished, you can simply lift off the tape to reveal a perfect finish. For added protection, larger surfaces can be covered in dust sheets or old newspapers.
3. Choose the right paint
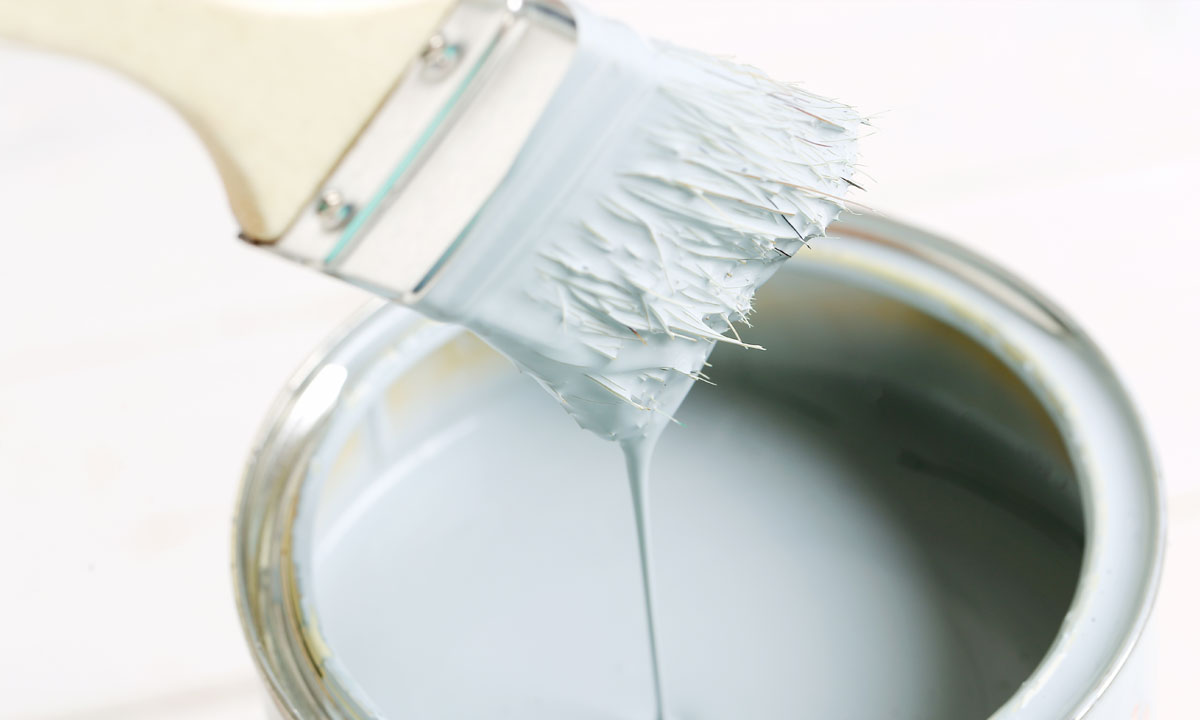
There are plenty of types of paint out there, with a range colours available to perfectly match your home. But it is essential to choose a durable paint to withstand the amount of use your staircase gets. Try to avoid wall paints and search instead for hardier stair or floor paints, ideally ones with a primer built in to help protect the wood. If primer is not built in, you can apply an undercoat of primer to start. We recommend two coats, and you will usually be safe to add the second coat after about seven hours or so.
If you are painting the bannisters, spindles and newel posts different colours to your stairs, it is a good idea to wait until everything is dried and looking good so you can protect your stairs from any rogue paint.
4. Choose the right brushes
Although covering a large area in your home, staircases can be fairly intricate. Regular size brushes and most rollers are often simply too big for the job. Try to pick out the right tools for the right job. It might make the job a bit longer, but you will be left with a better finish.
5. Top to bottom
It might seem common sense, but paint from the top of your staircase to the bottom. That way you will be able to let the top bits dry without worrying about touching them again.
6. Clean as you go
We’ve no doubt take care when painting, but there will always be a mishap along the way. If some of your paint spreads to an area where it should not, you can quickly clean it up with a moist paper towel. Keep one close by so you can carry on with the job in hand.